In the last tutorial, we created a Moderator for Distribution Group and a user who can directly send messages to all the users without the Moderator’s approval.
Now, we are going to learn how to test all activities related to Moderation of a Distribution Group in client side.
Here is the step by step tutorial for test moderation:
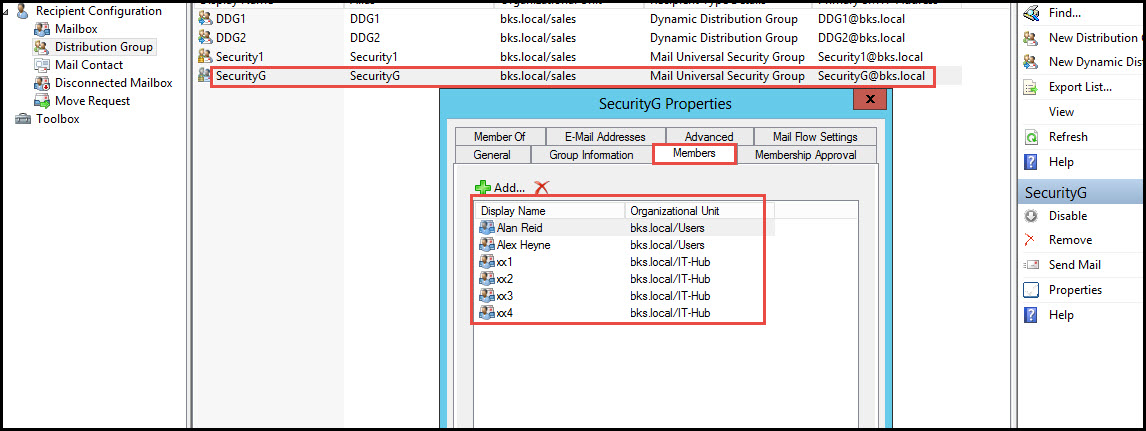
Step 1: Open EMC and Distribution Group where we created Moderation for the “SecurityG” Distribution Group. Here, you can also see all users who are members of this group.
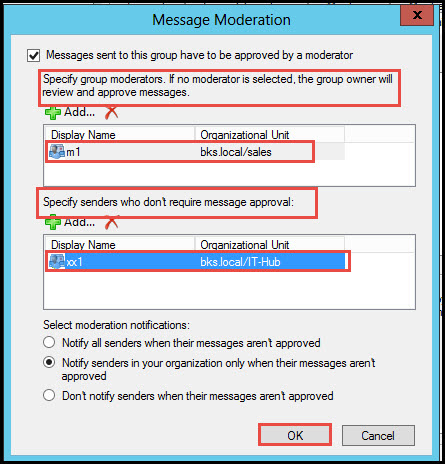
Step 2: We added two users on the “Message Moderation” wizard – Moderator M1@bks.local and XX1@bks.local who don’t need approval from the Moderator.
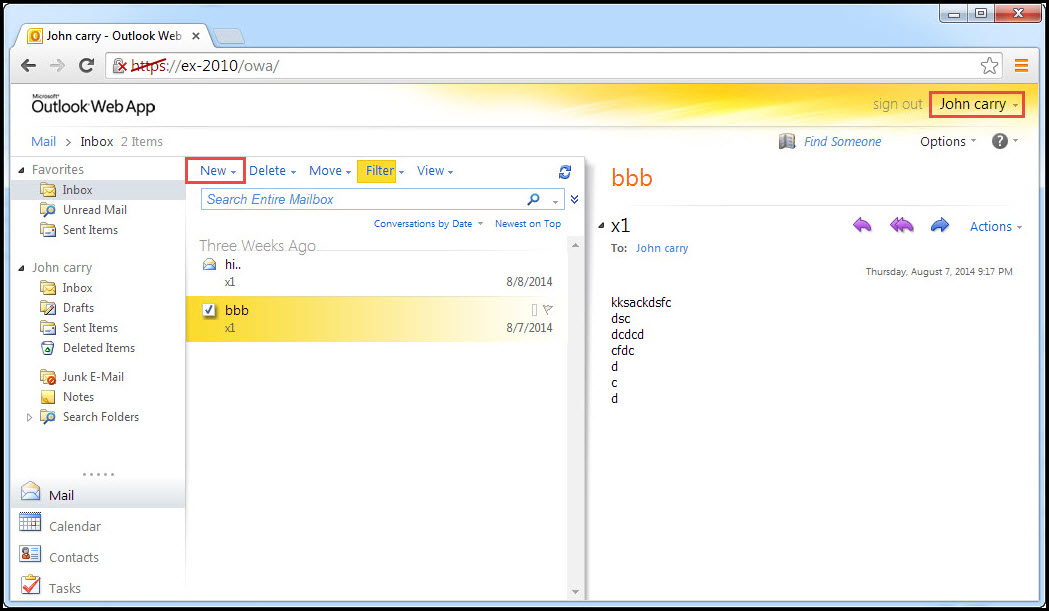
Step 3: As you can see in the screenshot below, a user named “John Carry” (john@bks.local) has logged into his email account.
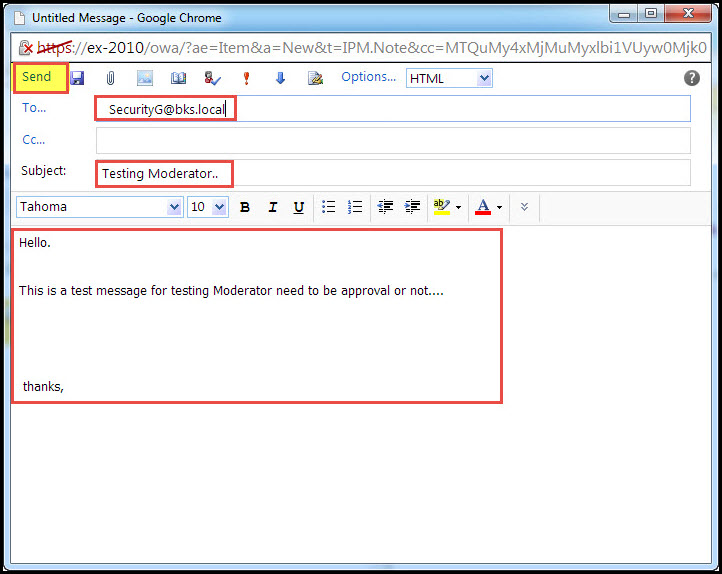
Step 4: John Carry (john@bks.local) has sent an email to the SecurityG@bks.local group.
Step 5: XX4@bks.local is one of the members of the “SecurityG” Distribution Group. Although he too has logged into his account, he is not able to receive any email message from “John Carry” (john@bks.local).
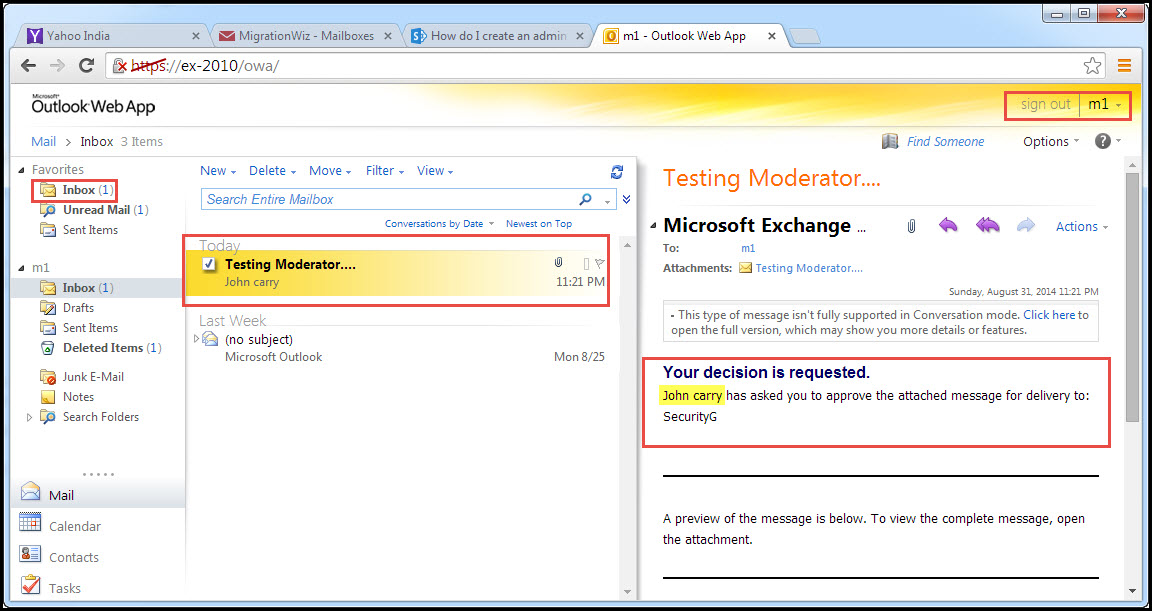
Step 6: Another user “M1” (m1@bks.local) is the Moderator and has the authority to approve or block email messages sent to the “SecurityG” Distribution Group. When m1@bks.local logs in, we see a message is in his inbox – “Your Decision is Requested.” You have to double-click on this message.
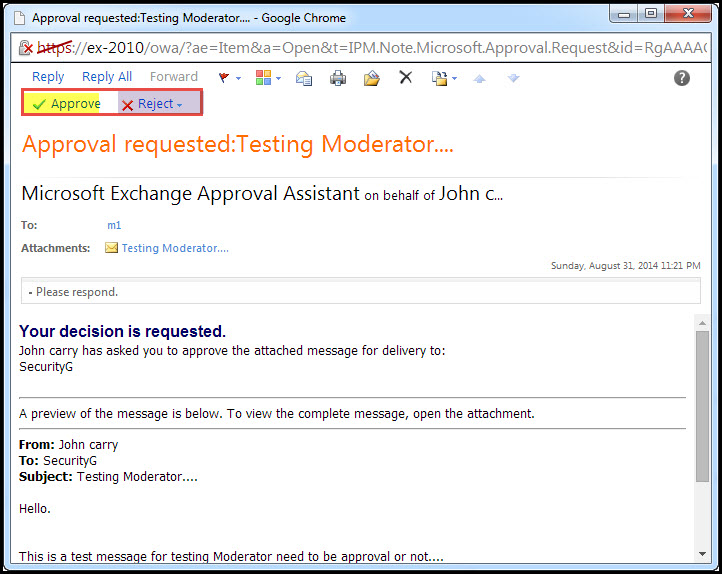
Step 7: Here, we have two options – we can either approve or reject the message.Click on the “Approve” button for approval.
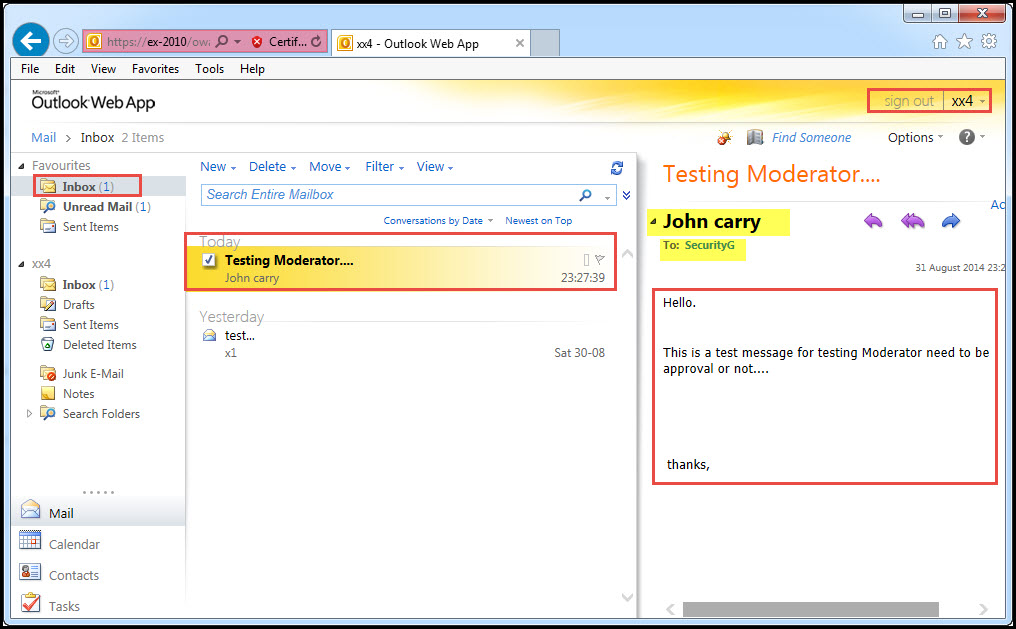
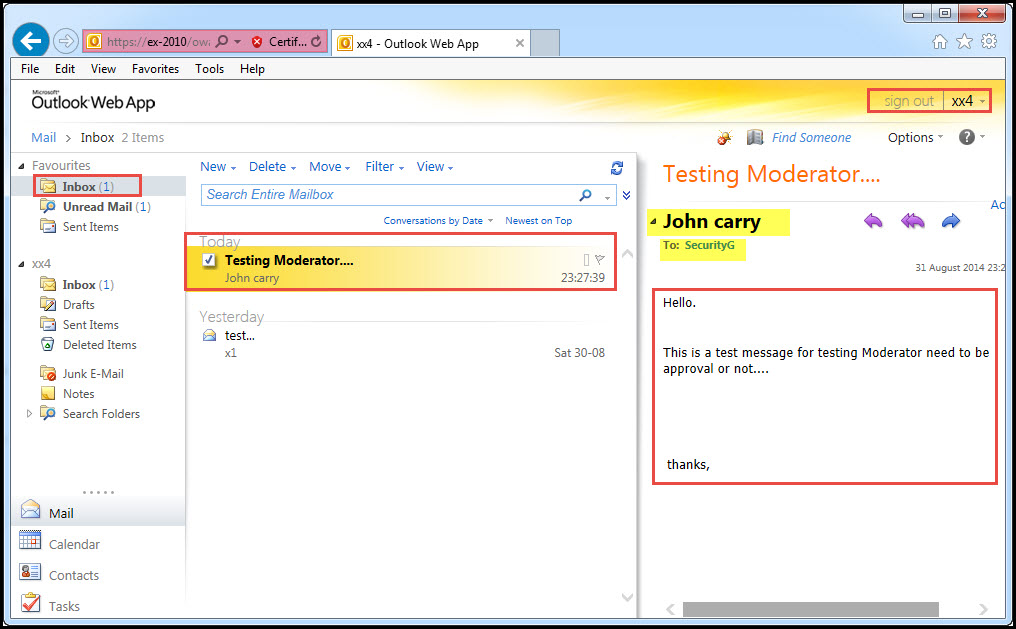
Step 8: Again login with user ID XX4@bks.local and you will see the message from “John Carry” (John@bks.local) has been received.
Once the message is approved by the Moderator, all the users who are members of this Distribution Group are able to see/access it.
We hope you’ve understood it all, but in case you are still having problems while trying to test moderation for distribution groups in client side, narrate the problems you are facing by writing a comment below. A senior IT support professional will revert as soon as possible.


