A database is software program that helps users store crucial information in a simple retrievable form. Organizations use it majorly to keep record of text, numbers and other such data. The Library Catalogue in a database, for instance, may include the author, title, accession number, and class number.
The latest databases allow storage of many other information types such as dates, pictures, hyperlinks, and sounds. In addition to storage, a database allows you to choose information quickly and effortlessly; choosing from a list of books on a certain subject written by a particular author, for instance.
Above all, it allows you to generate printed summaries of your chosen information.
When setting up a database, it remains crucial to plan its use well in advance, especially if other users will also be using it. The most important things to be considered are:
- Which data is to be stored
- Which data you need/want to extract
- For whom the data is recorded for and how other users will make use of it
- If you want to limit data accessibility options to certain database users only
- Who is permitted to add and edit data
While you are allowed to alter database specifications during the development process, you can save yourself the effort by planning things in advance.
Your data may be registered under the Data Protection Act if it refers to actual people. This, however, doesn’t apply to personal databases of family and friends.
A relational database management system (RDBMS), Microsoft Access lets you to join data that has been recorded in multiple tables. It is available for personal purchase in the form of part of the Ultimate Steal and is completely backed by Information Technology Services. As per the MS Select Agreement, you can also use it for departmental installation.
Starting MS Access 2007
When using a system, you must login by providing username/password combination as usual. To get started with Access 2007:
- Open the Start menu and choose the “All Programs” option
- Choose “Microsoft Office” and select Microsoft Office Access 2007 from the resultant list
The Access Screen
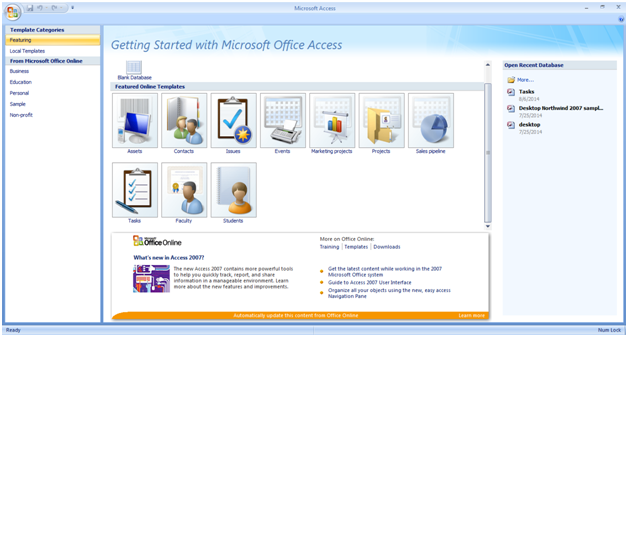
Once you’ve entered, you will be presented with the “Getting Started with Microsoft Office Access” screen. Here, you will see a set of sample templates that can help you build your own database.
More templates that are divided into four categories are also available with Microsoft Office Online. You can access them through the links provided in the left pane. Although these templates are helpful for specific applications, you may have to tailor the newly created database keeping your unique requirements in mind.
You can also create a blank database in Access, as well as open an existing one. There are certain basic steps that you are supposed to follow in order to get started with the Access. Some of the helpful screen shots are as below:
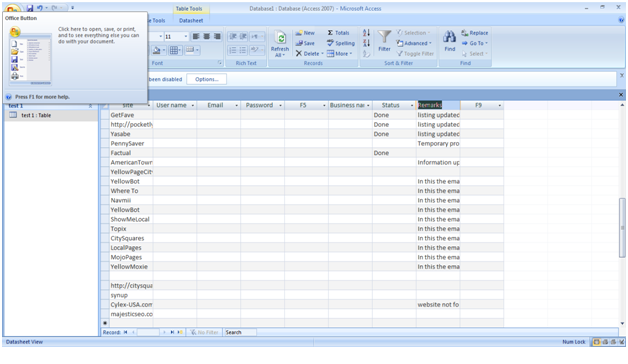
 Step 1: Click on the “Office” button and select the “Open” option. Alternately, you can simply press the shortcut key “Ctrl+O”.
Step 2: Change Look in: to User D: in the open window that appears
Step 3: Double-click on the “Training” folder
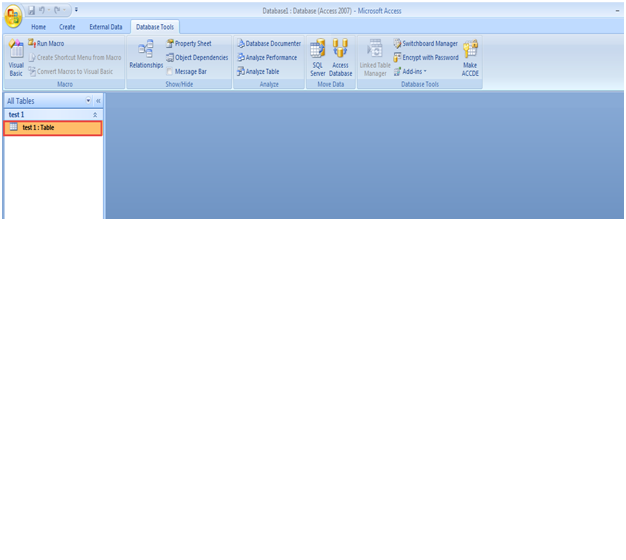
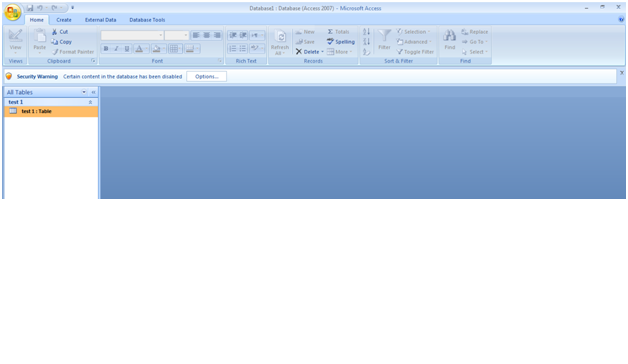
The Navigation Pane will appear on the left, in the next screen. This pane is responsible for controlling navigation within a particular database.
Since a database has several different objects that are grouped into a single file as constituents, you find it easier to manage them all with its help.
This database is set up to display “All Access Objects” that are currently inside. However, there are other types of objects too that are not appearing on the screen. (Check the screenshot)
- Tables – keep record of the raw data
- Queries – are used to retrieve raw data in the form of dynamic data sets
- Forms – easy to use layouts that are used to display data on the screen or in a table as per requirements, or from a database query)
- Reports – these are the output files (these are also ready-to-print)
- Pages – these are used for creating or modifying WWW pages
- Macros – these are a set of commands used to perform specific tasks
- Modules – these are the programs for expert database users and written in a programming language; the language is called Access Basic; it is used for all ready-made functions which are otherwise not available to a regular user
The Navigation Pane in Excess 2007 makes all the required objects accessible for the user. The user doesn’t deal with things such as Pages, Modules, and Macros in this Beginners’ course though. The tabs on the Ribbon will change accordingly as you continue to use the different components.
- On top of the Navigation Pane, click on the Arrow in order to view the available options.
- To show or hide objects in different groups, click on a double arrow.
Using an Existing Table
The starting point is to investigate the table named as “Test 1.” All the data it contains is related to a fictitious number of columns and imaginary fields.
Step 1: Click on the “Test 1” table to select and press “Enter” or double click with the mouse to open. A new pane opens on the right, showing the data set of the table. This method of viewing data is known as Datasheet View. It presents data in simple columns and rows, similar to a spreadsheet. There are a number of records, one for each site, with each making up for one line or row of the table. For each website, various items of data are recorded in columns – each column contains one variable (or field). On the top of the table is a tab, which provides ease of access when you have more than one object is open on the screen.
Step 2: Another scroll bar is provided at the foot of the window for toggling left and right when columns extend over more than the one screen. To move from field to field, use the right and left arrow keys or the Tab and Shift keys. The End key takes you to the last field, and the Home key to the first. Using the Page Up and Page Down keys will take scroll up, or down a screen, while “Ctrl+Home” and “Ctrl+End” take you the user to the 1st field of the topmost databse record & final record field of the last database record, respectively.
Step 3: Hit the View button to access the Design tab. The Table Design pane in Excess 2007 lists the different field-names as well as their specific data types; it also displays the field properties. The screen appears as below:
The fields (and properties) are as follows:
- Websites Field: It is allotted by the University Registrar’s Office; it is a text field that comprises of student’s personal IDs. Text fields are the most common of all fields in a database record; they can be used to keep record of letters, numbers, punctuation and virtually all type of characters. Numbers in a database should ideally be recorded as text unless you need to perform some calculations on them. It can be 10 characters long. We need a caption for easy field name expansion. This number is used to identify every student (uniquely); here, the required property as well as Index has been fixed as Yes. It is done so as to avoid creation of duplicate entries in a record. This field also creates a Primary Key that you still have to study in detail.
The default options should already be set correctly. The “Look In” box displays the search is restricted to the current user name and password field (alternatively, you can search the whole table).
Within the “Match” box, you can choose to match the whole field, parts of it or just the beginning portions. “Search” is set to all records, and there are two other options – Up and Down. Match Case allows you to differentiate between capitals and lower case.
Finally, Search Fields – as Formatted- doing this is useful for finding data as displayed (a date format, for example).
Note, that you also have access to a Replace tab for editing data.
- Press Enter after selecting Find Next and enter your search criteria.
- Press Enter again.
- Continue to press the Enter key until you get the message that the search item is not found which means you have exhausted all possibilities.
This is a highly helpful technique, despite the fact that it may not be one of the best ways of retrieving information from a database. In order to close the “Find” window and warning message both:
- Press the “Escape” key two times. You can also click on the “Cancel” key.
- Press the “Ctrl+Home” key to move back to the home screen.
The above presents a detailed account of Access 2007, but if some point is not clear, do not hesitate to drop your queries in the comment section below. Our experts will participate in discussions to help resolve your doubts.


